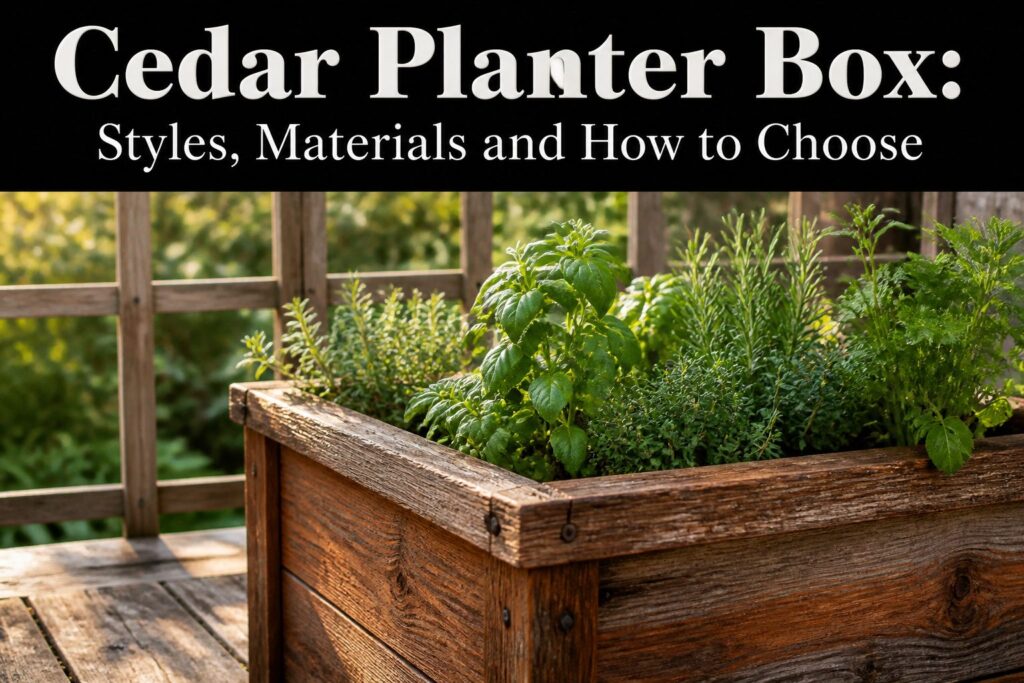
A cedar planter box is a wooden container built to grow flowers, vegetables, or herbs, and the cedar itself does more work than most people notice.
Western red cedar is naturally rot-resistant and lightweight, but its tannins will corrode standard fasteners in two seasons unless you use stainless steel screws.
That hardware detail, easy to miss on the home-center shelf, is what separates a box that lasts five years from one that splits after the first winter.
[link-whisper-related-posts]What a Cedar Planter Box Is
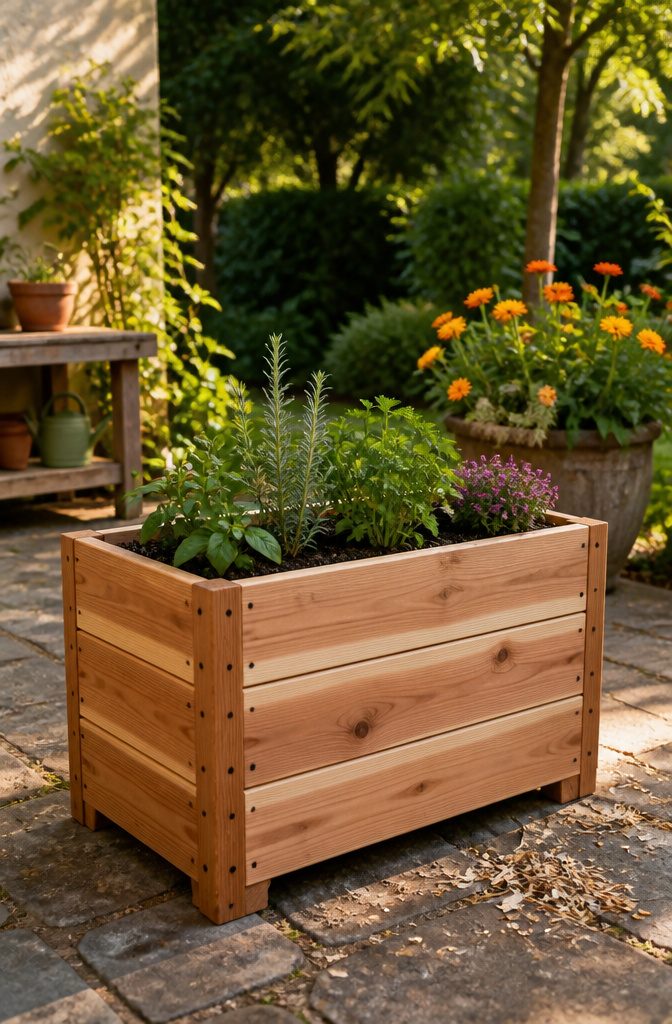
A cedar planter box is a wooden container built specifically for growing flowers, vegetables, or herbs, and the cedar part matters more than most people realize at first glance.
Western red cedar gives you a box that is lightweight, naturally rot-resistant, and aromatic, which is why it outlasts softer woods that start splitting after a season or two of wet soil and temperature swings.
Construction runs from simple slatted sides to tongue-and-groove panels fastened with galvanized screws and ring-shank nails.
Most come with a raised solid base and predrilled drainage holes, because standing water will kill your plants no matter how good the wood is.
You will see them unfinished or finished with a clear cedar oil stain; the unfinished option weathers to a silver-gray, while the oil keeps the warm tone longer.
Typical uses range from kitchen herbs by the back door to tomatoes on a patio or cascading flowers along a walkway.
Cedar pickets are inexpensive enough that scrap from one project often becomes a second box, so the material keeps costs down even when you are buying new.
Heritage Square Planter Box
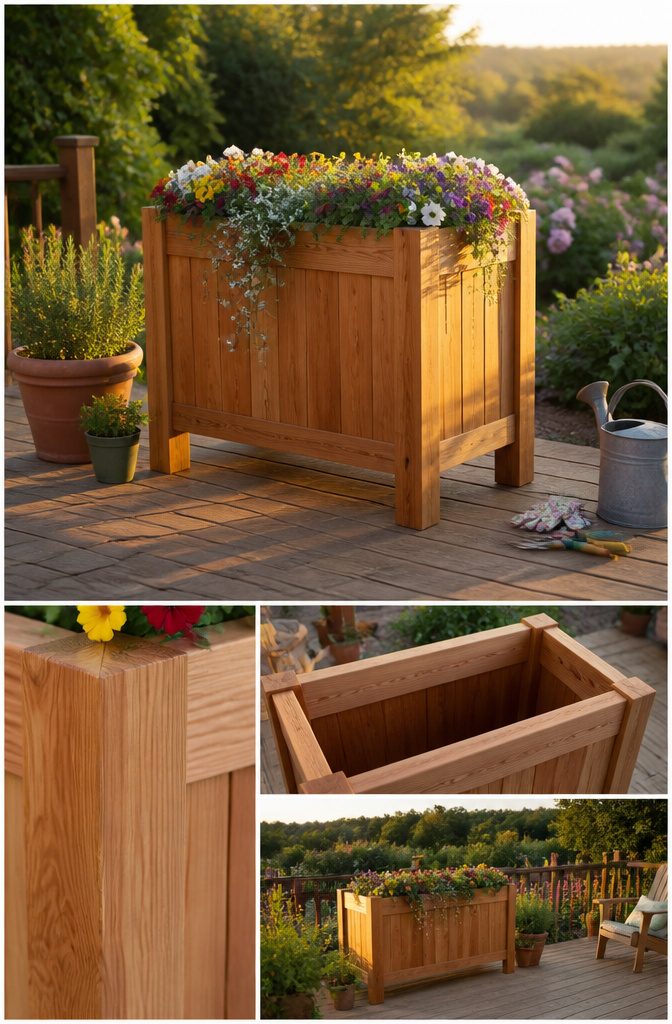
Western red cedar holds up well in planter boxes because the same natural oils that repel insects also resist rot, and the Heritage Square line puts that wood to straightforward use.
Each box ships fully assembled with a raised solid base and predrilled drainage holes, which saves a weekend of cutting and routing.
The sides are built with tongue-and-groove panels and fastened with galvanized wood screws and ring shank nails, the kind of hardware I’d expect on something meant to sit outside year-round.
Four sizes cover most balcony or patio layouts. The small runs 15" x 16" x 13"H with an interior planting depth of just 6 inches, fine for herbs or shallow-rooted annuals but tight for tomatoes or deep perennials.
The medium and large share the same 20" x 21" footprint; the difference is height, with the large jumping to 17"H and adding 4 inches of soil depth. That extra depth matters for root vegetables or anything you want to overwinter.
The extra-large at 25" x 27" x 17"H with a 23" x 21" planting area is the one I’d pick for a compact shrub or a mixed container that needs room to fill out.
All dimensions can vary up to 1 inch depending on sanding and the particular cut of cedar, so leave a little slack if you’re slotting these between fixed posts or railings.
The finish is unfinished as standard, though a clear cedar oil stain is optional.
I’d take the oil if the box sits in full sun; raw cedar weathers to gray in about two seasons, and the stain slows that shift without hiding the grain.
DIY Cedar Planter Box
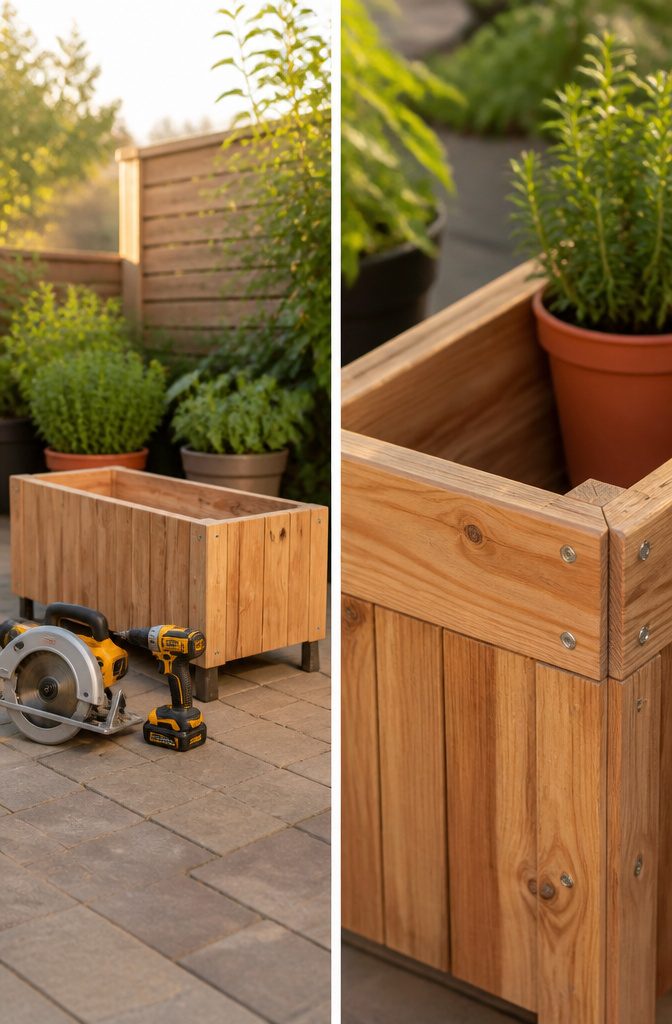
Cedar picket fence boards from the home center are the cheapest entry point into a solid cedar planter box.
I would skip the premade kits and build from 1×6 Western red cedar pickets, which run short enough to cut without a miter saw and thin enough to handle with a drill.
A 4 ft by 12 ft planter box built this way lands under $300, and that figure scales down fast for smaller vegetable beds or patio boxes.
The assembly is straightforward: four 2×2 cleats inside each corner, boards screwed to the frame in stacked rows, and a bottom slat or two left with a half-inch gap for drainage.
Stainless steel screws matter here, not coated deck screws. Cedar’s tannins corrode standard fasteners in two seasons, and replacing rusted screws through swollen wood is not a weekend job I would sign up for.
Use stainless steel pocket screws, 2½-inch stainless steel deck screws, and 1¼-inch stainless steel wood screws throughout to prevent corrosion against the cedar.
That specification covers every joint in the box, and buying one screw type in bulk keeps the hardware run simple.
For tools, a circular saw, drill, and speed square get it done; the 2×2 frame forgives small cutting errors that a butt-jointed box would not.
I would add landscape fabric inside and set the box on a few pavers so water exits freely rather than pooling against the bottom boards.
Custom Cedar Planter Boxes
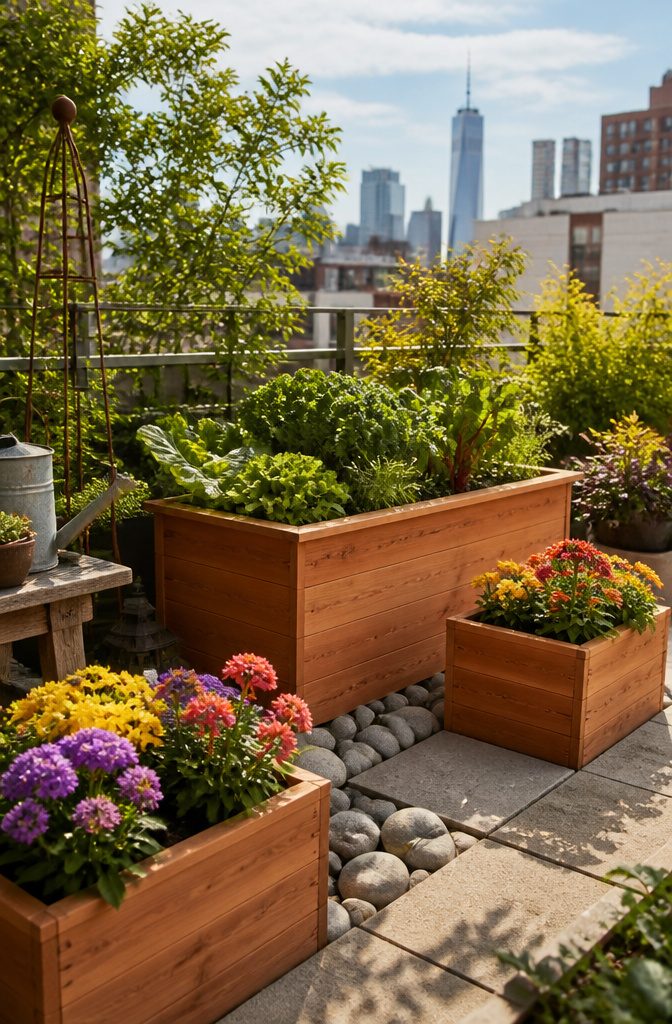
A custom cedar planter box starts at $60 without a bottom and runs up to $190 depending on the size and features you add.
That range covers the kind of tailoring that actually matters: depth, overall dimensions, and whether you need a base at all.
Fourteen inches of depth handles most vegetables and perennials without question, and the option to go with or without a bottom changes where the box lives.
I would skip the base for a backyard bed sitting directly on soil, where roots can push down and drainage takes care of itself.
For a balcony or patio, a bottom with drainage holes keeps water from pooling on the surface below and staining what you own but do not control.
Delivery runs free in certain areas, and the longest wait I have seen quoted is three weeks. That timeline sits about where custom work usually does, not instant but not a full season lost.
If you are deciding between standard and custom, the upgrade pays off when you are filling a specific corner or working around a fixed feature like a downspout or railing post that a catalog size will not clear.
Cedar Planter Box with Legs
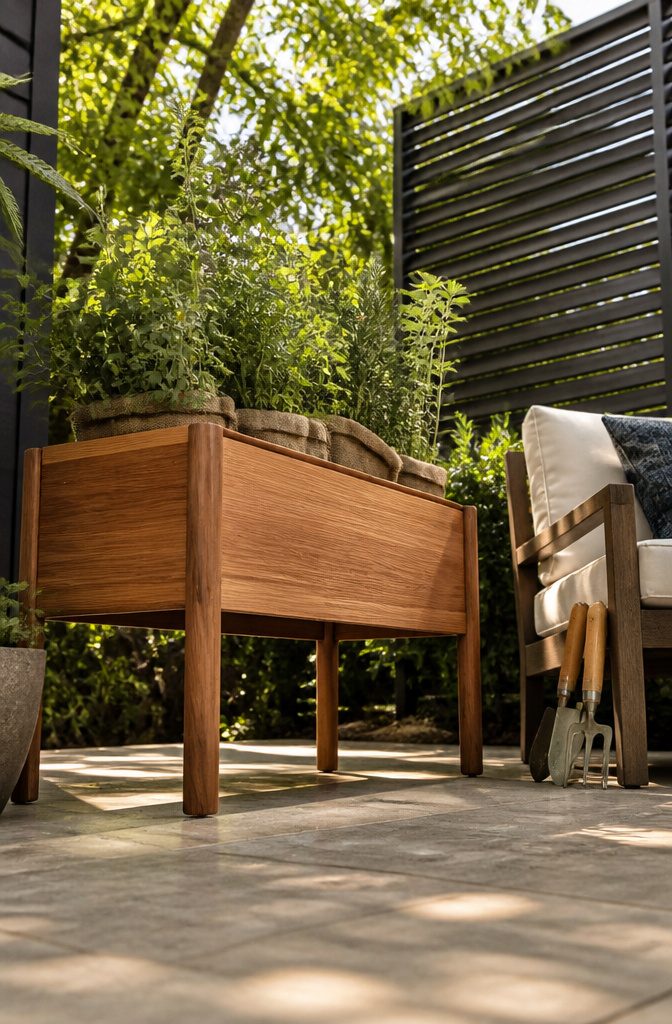
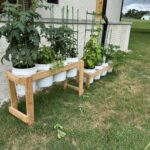
A cedar planter box with legs reads as furniture rather than yard equipment, and that distinction matters if you’re placing it on a deck or patio you actually use.
The four tapered legs Tom Silva designed for This Old House lift the box clear of the surface so the underside dries out and you can sweep or hose underneath without moving it.
That air gap underneath pairs with an interior trick: potting mix sits in fabric grow bags set inside milk crates, so water drains straight through instead of pooling against wood.
The raised design changes where you can put it and what grows well there.
Ground-level boxes sit in whatever moisture the soil holds; legs keep the cedar above splashback and let air circulate all around, which slows rot even in Western red cedar. You also avoid the bending, and the pest access is reduced.
Corner bases on commercial boxes like the Cedar Wood Heritage Square do similar work on a smaller scale, raising the box just enough for drainage and airflow.
The Heritage line uses galvanized wood screws and shank nails, so the hardware matches the wood’s lifespan rather than rusting out first.
If I were choosing for a rental patio or small deck, I’d take the legged version over ground-level. It costs you the root insulation that soil contact provides, which means annuals and shallow-rooted herbs do better than deep perennials.
But you gain a surface that stays usable and wood that stays dry longer, and for a weekend project on a real budget, that tradeoff is worth it.
Western Red Cedar and Other Materials
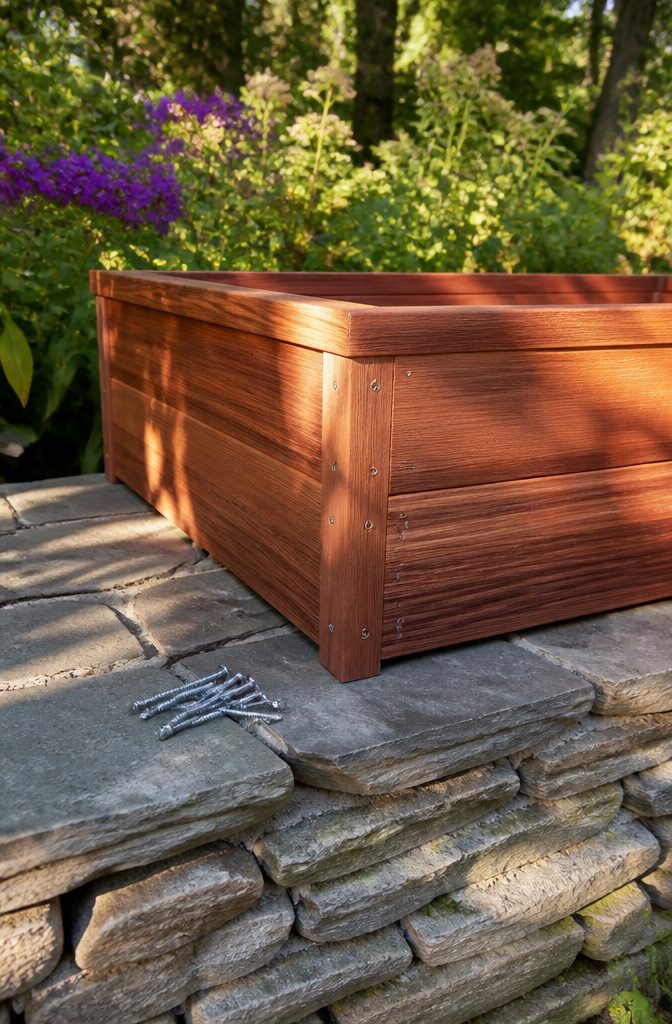
Western red cedar is what most people picture when they think of a cedar planter box, and for solid reasons.
It carries natural oils that make it rot-resistant without any chemical treatment, which matters when soil sits against the boards for months. The same oils give it that sharp, clean scent every time you brush past it on a patio.
Eastern cedar works too, though it tends toward thinner boards, around 1 inch, and trades some of that legendary durability for a lower price.
Either way, cedar stays lightweight enough that one person can shift an empty box when the sun pattern changes.
The hardware matters as much as the wood.
Stainless steel screws, whether 2½-inch deck screws or shorter wood screws, are the only choice that won’t corrode against cedar’s tannins. Galvanized or coated fasteners will stain the wood and weaken within a season or two.
A coat of varnish buys time. It is not required, but a varnished box keeps that warm tone longer and pushes replacement a few years out.
I would skip it only if I wanted the silver-gray weathered look fast, and even then, I would varnish the inside where soil contact is constant.
Sizes and How to Choose
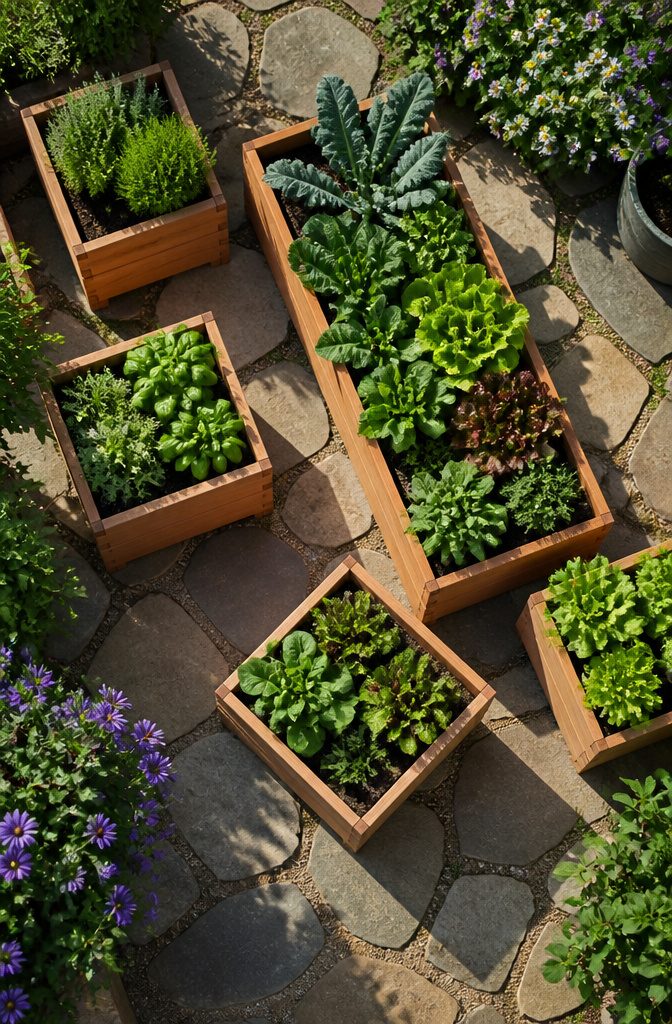
A standard cedar planter box runs 18" x 18" x 14" for compact spaces, while the 18" x 48" x 14" rectangle covers a windowsill or railing with room for rows.
That 14-inch depth is the baseline most builders work from, and it shapes what you can grow.
Shallow soil means shallow roots. Herbs, lettuce, and most greens do fine with less, so a 14-inch box is plenty for a kitchen garden you harvest weekly.
Root vegetables, tomatoes, and anything that fruits heavy wants more room to anchor. If your tomatoes are going in a standard box, plan to stake early and water often; the roots will hit the bottom by midsummer.
When the space is the wrong shape for 18-inch increments, custom sizing is worth the wait.
A 14-inch depth still holds most plantings, but the length and width can stretch to fit a corner or tuck beside a door without the awkward gap that makes a standard box look like an afterthought.
The trade-off is lead time and usually a higher per-foot cost, since the cuts stop being routine.
For renters especially, I would measure the spot first and buy standard if it fits. A planter that looks built for the space beats one that looks placed there.
Building for Drainage and Assembly
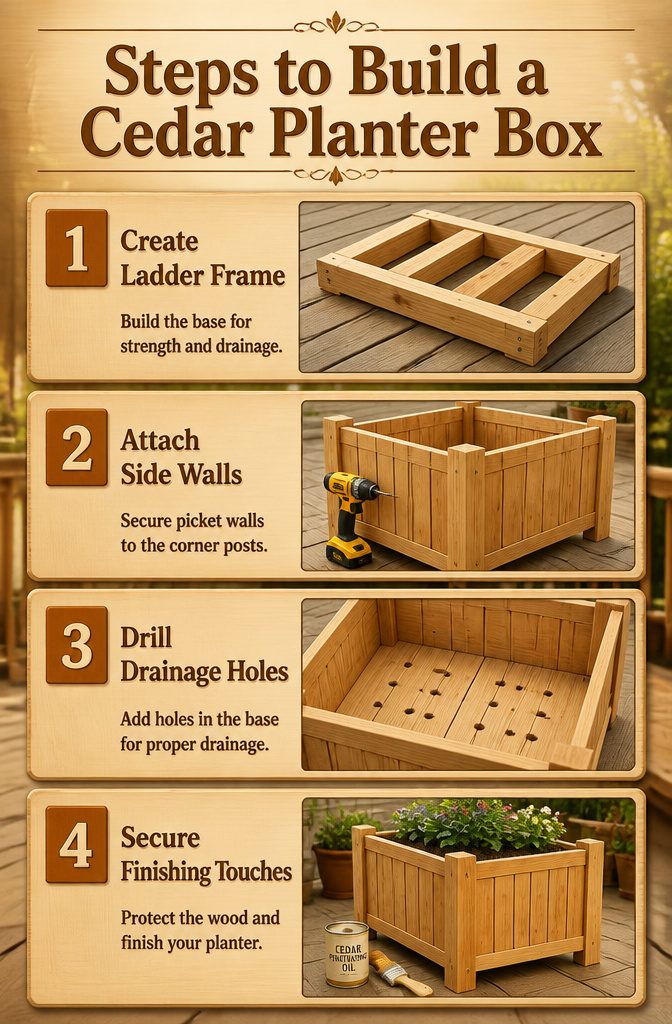
A cedar planter box built to last starts from the bottom up.
Crosspieces ripped from 4×4 stock and stringers from dadoed 5/4 x 6 boards form a ladder-like frame secured with 2 1/2-inch deck screws. This base carries the load and creates the gap that lets water escape rather than pool.
Corner bases that raise the box off the ground do the same work on pre-made versions, giving you drainage and air circulation without the cutting.
Side walls attach one by one to that frame. Pre-drilling matters more than the screw length, especially with cedar fence pickets that split if you drive too fast.
Two-by-two corner posts at 21 1/2 inches give you something solid to screw into, and keeping the picket edges flush to those posts keeps the box square.
I would build two opposing walls flat on a table first, then stand them up and bridge them with the remaining pickets.
One person can manage it, but a second pair of hands keeps the walls from drifting while you drill.
Drainage holes belong in the base, not the sides, and pre-made boxes handle this with bottoms that are either open or slatted. The Cedar Wood Heritage Square sits on corner bases for exactly this reason.
A solid bottom with drilled holes works for patios and balconies where soil falling through matters; no bottom at all is simpler if the box sits on open ground.
Finishing is where the paths split. Pre-made boxes sometimes arrive bare, sometimes varnished, and that chemical-free varnish buys you years.
On a DIY build, I would skip film-forming finishes that trap moisture and let the cedar gray out naturally, or use a penetrating oil if the color matters more than the maintenance schedule.
Price Ranges and What Moves Them
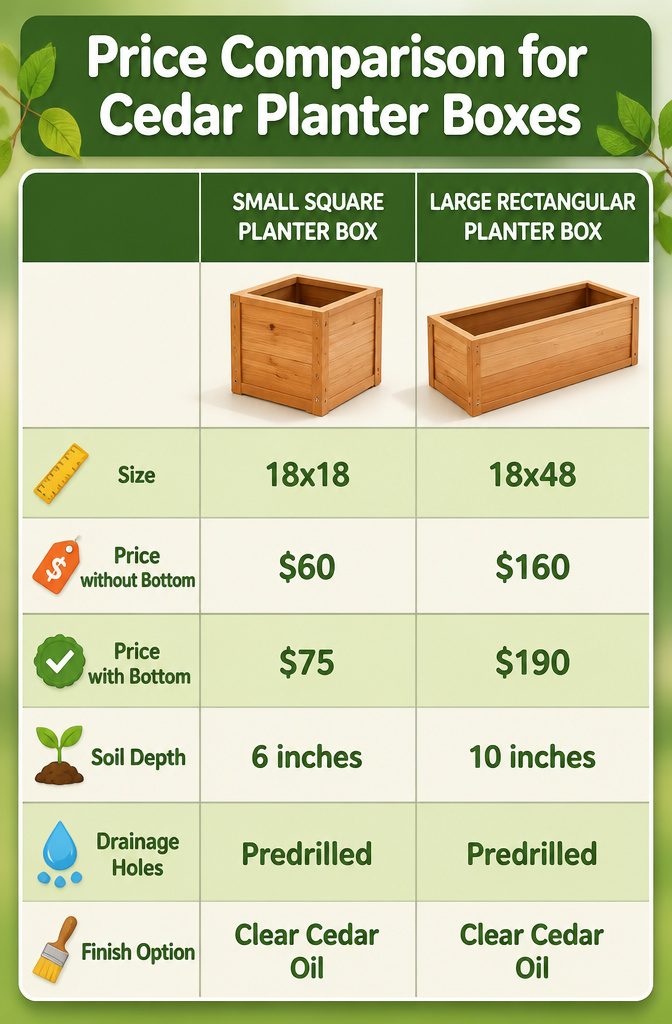
A 14-inch-deep cedar planter box starts around $60 for an 18 by 18 inch box without a bottom, and the same footprint jumps to $75 once a solid base is included.
That bottom matters more than the price gap suggests: it turns a frame that drains straight into your patio into a self-contained unit you can move or set on decking without rotting the boards underneath.
The money at this tier buys straight cuts, galvanized screws, and tongue-and-groove sides thick enough to hold 3 cubic feet of soil without bowing.
Scale drives the rest.
An 18 by 48 inch box, the largest standard size, runs $160 without a bottom and $190 with one. Between those poles, each step up in growing area adds roughly $20–$40.
Delivery is usually folded in at these prices for local makers, which is worth asking about upfront since a 7.5 cubic foot box in Western Red Cedar is not a trunk-friendly load.
Pre-made boxes in the 15 to 25 inch square range, fully assembled with predrilled drainage holes and an optional clear cedar oil finish, sit at the higher end per square foot of actual planting depth.
The small sizes offer only 6 inches of soil depth; the large and extra-large jump to 10 inches. I would skip anything under 8 inches for tomatoes or deep-rooted herbs, but 6 inches handles lettuce and annual flowers fine.
For growing area, four of those 18 by 48 inch boxes give you 24 linear feet of bed.
A single DIY build at 4 by 12 feet matches that in one run and costs under $300 in cedar, counting screws and a roll of hardware cloth if gophers are an issue.
The trade-off is a weekend of cutting and a drill, versus unboxing and planting by noon.
I would go pre-made for a balcony or a rental where the box leaves with me, and build if I own the dirt it sits on.
Frequently Asked Questions
What sizes do cedar planter boxes come in?
Standard cedar planter boxes run 18" x 18" x 14" for compact spaces, and 18" x 48" x 14" for longer rows.
The Heritage Square line comes in four sizes from 15" x 16" up to 25" x 27", though planting depth varies from 6 inches on the small to 10 inches on the large and extra-large.
Custom sizing is available if standard dimensions do not fit your space.
How do I make a cedar planter box?
Build a simple box from 1×6 Western red cedar pickets, screwing stacked rows to 2×2 corner cleats with stainless steel fasteners throughout.
Leave a half-inch gap between bottom slats for drainage, line with landscape fabric, and set the box on pavers so water exits freely. A circular saw, drill, and speed square are enough to get it done.
What is the price range for cedar planter boxes?
A basic 18" x 18" cedar planter box starts around $60 without a bottom and $75 with one, while an 18" x 48" box runs $160 to $190 depending on the base.
Custom boxes fall in the same range, starting at $60 and topping out around $190 for larger sizes with added features.
Should I line cedar planter boxes?
A cedar planter box does not need lining. Western red cedar’s natural oils make it rot-resistant without help, and lining can trap moisture against the wood rather than letting it breathe.
If you want, landscape fabric inside a DIY build keeps soil from washing through drainage gaps without creating the moisture trap a solid liner would.
What do you put in the bottom of a wooden planter box?
A solid base with predrilled drainage holes works for patios and balconies where you need to contain soil and water.
On open ground, skip the bottom entirely so roots can push down and drainage handles itself. For a legged design, fabric grow bags set inside milk crates let water pass through while holding the mix in place.
How long do cedar wood planters last?
Western red cedar planter boxes last for years without treatment thanks to natural rot-resistant oils, though the exact span depends on conditions and construction.
Galvanized or stainless hardware matched to the wood’s lifespan prevents early failure from corroded fasteners, and a coat of varnish or clear cedar oil can extend the timeline further by slowing weathering.